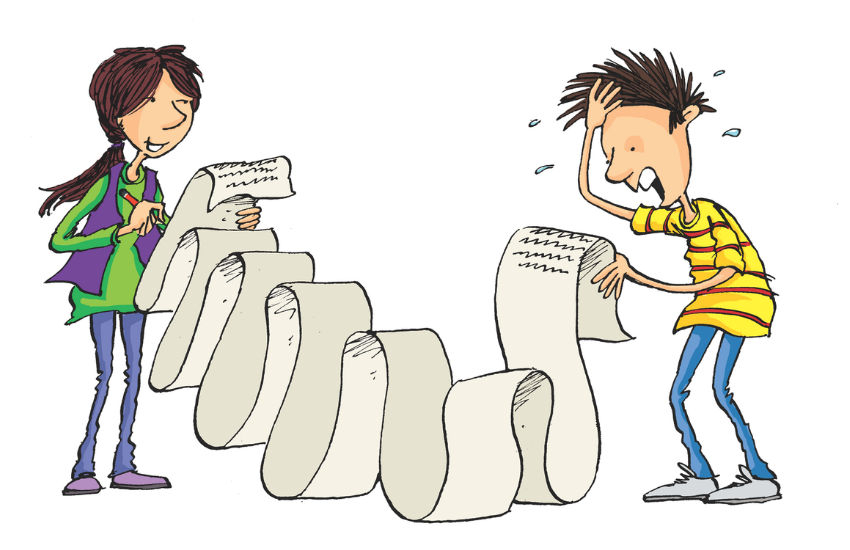
This is the step that focuses students’ attention on taking out all the extra bits in their writing. Not just words, but actions and descriptions that distract the reader from the main story and that make writing flat.
They’ll have written some pretty good first drafts by now, hopefully using all of the first five steps. Celebrate their successes so far and ask them to ‘Put on their Editor’s Hat’ and select two or three pieces of writing they’d like to take to the next level.
These can be narrative, persuasive or informative texts. Texts they think are pretty good but that have potential to be absolutely awesome.
Through the eyes of an editor
Explore with students what an editor does. Explain that there are three kinds of editing and that the secret to great writing is to use ALL THREE:
1. Structural editing
Moving big pieces about. You look at the whole shape of your text (perhaps using the Story Graph). Make sure there is a Sizzling Start, check your speed – is the action fast enough for this form of writing? Is there a really fabulous Ending with Impact?
2. Expression editing
Looking at what you have said, and trying to find cleaner, tighter, more satisfying and effective ways to say it. You look at your text one line at a time. Instead of ‘She walked to school. She was happy.’, try ‘Happiness shone in every leaf of every tree, and she drifted past in a daze of joy.’
3. Secretarial or line editing
Checking the spelling and punctuation. You look at the words and the punctuation, and check for errors. This is what most people think of as editing and yet it is the last step and the least time is spent on it.
Austin’s Butterfly
Watch the video, Austin’s Butterfly with the class (5 min).
Austin’s Butterfly is a great example that students can relate to, about a student who went through several drafts of his drawing, each time trying to ‘Look with the eyes of a scientist’.
His classmates helped him, with specific and achievable feedback. We can adopt this approach in our writing class.
Here’s the video: Austin’s Butterfly
Do your drafts
Ask students to look at their own work ‘though the eyes of an editor’. Remind them what the kids in the video said about feedback, that it’s “specific things said in a way that’s not mean”.
This kind of editing is the opposite of the quick check for spelling – and it can work miracles! It’s what real writers do.
Facilitate and encourage students to make several drafts, each one improving on the last. This may mean using computers and saving Draft 1, Draft 2, Draft 3 and so on rather than saving over the last draft. Print each draft and let students examine them all to see how far they have come.
As a part of this, you could also place students in pairs or small groups, and ask them to help each other work through each of the Seven Steps, one by one. (If you have the Seven Steps posters, they’re a nice reminder, or you can use the list of Seven Steps found on our website.)
Ask students to tell you how the students in the video reacted when they saw Austin’s final butterfly drawing next to his first one. (Was it awesome? We want our writing to be awesome, too!)
Let’s do the same with our writing drafts – review those multiple drafts too, and celebrate how far students have come!
Teacher Hub resources
The video, Austin’s Butterfly, is a classic, but it will be new to many students and is a great way to illustrate that many drafts are required for significant improvement.
We’ve put together useful lists of some of our favourite texts and videos that demonstrate the Seven Steps, which can be found below. Use either of these lists for examples that help students see the concepts in action!
Narrative Texts Demonstrating the Seven Steps
STEP All Steps
PURPOSE Teach
RESOURCE TYPE List
YEAR F–10
- Show students examples of the Seven Steps techniques in published texts.
- This handy list is sorted by Step and annotated with notes about how each text demonstrates a particular Seven Steps technique.
- Selection includes picture books and chapter books, from classics to more recent titles.

Narrative Videos Demonstrating the Seven Steps
STEP All Steps
PURPOSE Teach
RESOURCE TYPE List
YEAR F–10
- Show students examples of the Seven Steps techniques in filmmaking.
- This handy list is sorted by Step and annotated with notes about how each video clip demonstrates a particular Seven Steps technique.
- Selection includes animated short films, movie scenes and advertisements.

Exclusive to Teacher Hub
Authors Hazel Edwards and Susanne Gervay answer the question: What gets left out during the final editing phase? This is useful for teachers or for upper primary and older students to watch in writing class. View the video >>
For editing in small groups, break it down into the steps. The Seven Steps Classroom Posters may be useful, or the list of Seven Steps on our website.


